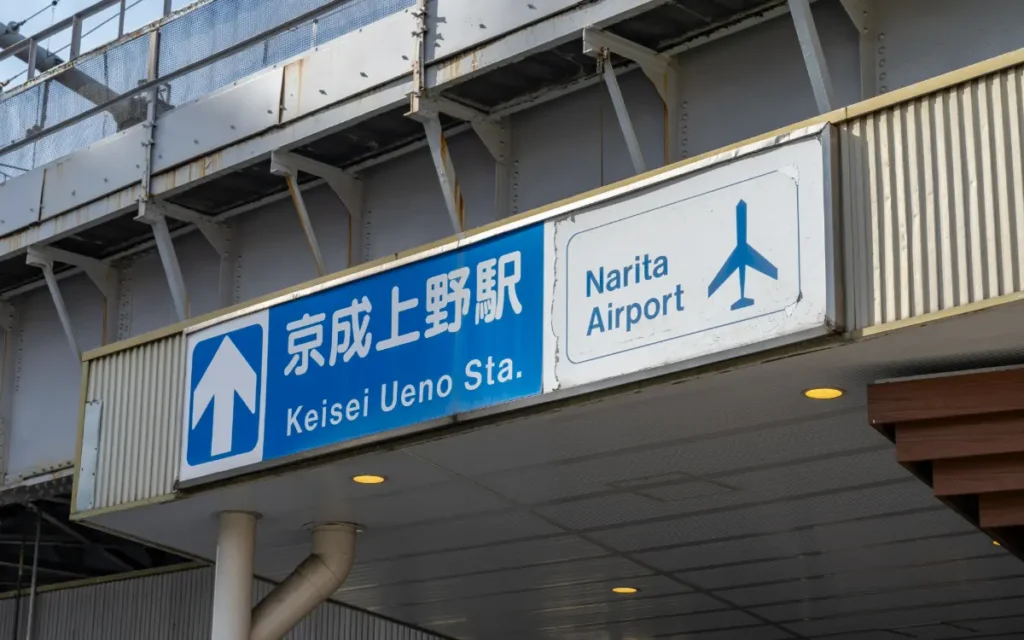
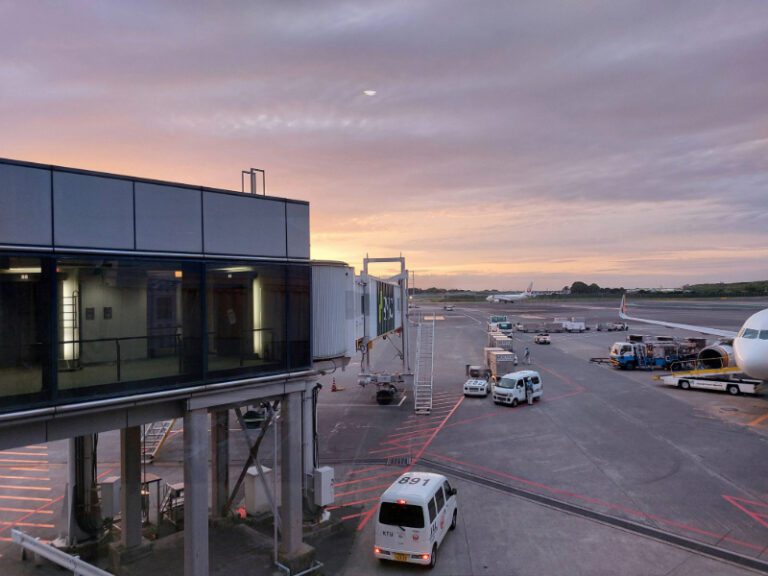
When we first landed in at Narita Airport in Tokyo, we were shocked to learn the price of a taxi to central Tokyo. It costs about: 30.000 Yen and yes that’s roughly € 185 / US$ 190! Luckily there’s a much cheaper way to get into Central Tokyo, and that is by using the Kesei Skyliner train to Ueno Station.
The Skyliner is an airport train service that’s one of the fastest and easiest ways to get to the city center. Having traveled with the Skyliner to central Tokyo ourselves, we’re sharing our step-by-step guide on how to navigate this budget-friendly and convenient option so you can start your Tokyo adventure as quickly as possible.
This post contains affiliate links. If you make a purchase through them we may earn a small commission at no extra cost to you.
About the Keisei Skyliner
The Keisei Skyliner runs frequently and takes you to station Ueno in 41 minutes, and from there on you can easily transfer to the JR Yamanote Line. The Yamanote line is a loop service that connects to all of Tokyo’s major train stations, making it the most convenient urban train line in the city to travel with.
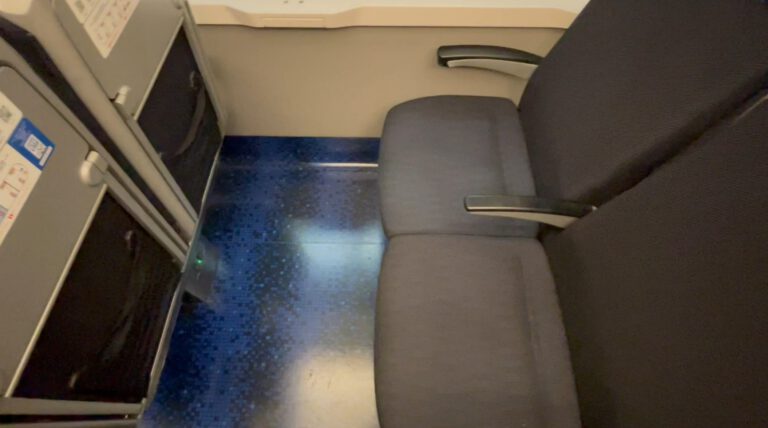
As for comfort the Skyliner offers reserved seating so you’ll be guaranteed a spot and there’s free wi-fi onboard.
A one-way ticket costs 2580 Yen per adult if you buy your ticket at the station. There’s a discount available if you purchase your ticket in advance. Check the official website for the latest pricing.
Pro tip: get an e-sim before you arrive in Japan, so you can navigate everywhere easily from the second you land. We’ve personally used Airalo during our last Japan trip. It worked perfectly and happened to be the cheapest option to stay connected.
Step-by-Step Guide to Using the Keisei Skyliner
1. Exiting the Arrivals Hall
After clearing customs and picking up your luggage, look for signs directing you to the train station. If you can’t find them, the train station is located underneath the terminal building so be sure to take the escalator down. But no worries Narita Airport’s signage is in English, so it’s very easy to find your way.
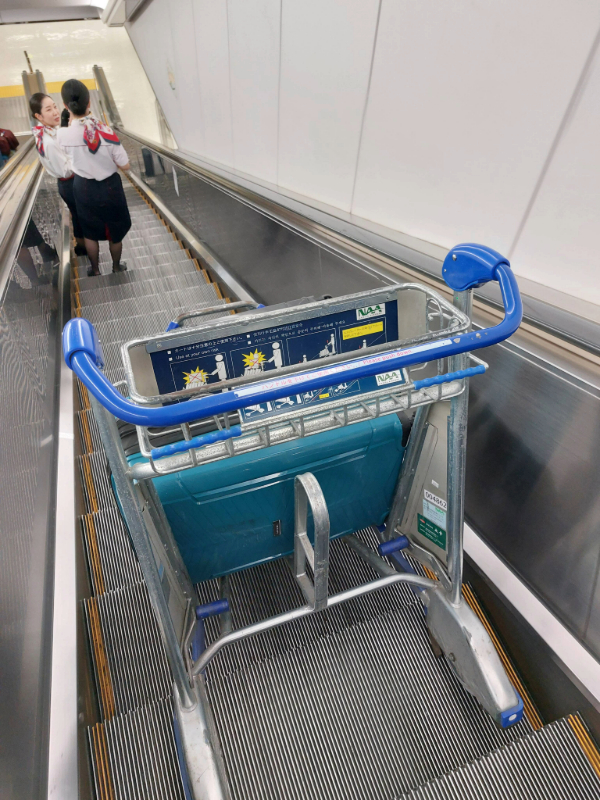
2. Buying Your Ticket
You can purchase your Skyliner ticket at the Keisei counter or vending machines. Both options are user-friendly, but if you prefer to avoid queues, you can also book online in advance. When we traveled, we found that buying tickets on-site was do-able, but there was a long line in front of the machines. So we would recommend buying the ticket beforehand.
3. Heading to the Platform
Once you have your ticket, follow the signs to the Keisei Line platform. Staff members are always around to help if you’re unsure and we’ve found them very friendly and helpful. he platform is well-marked, and electronic boards display the train schedules in English and Japanese.
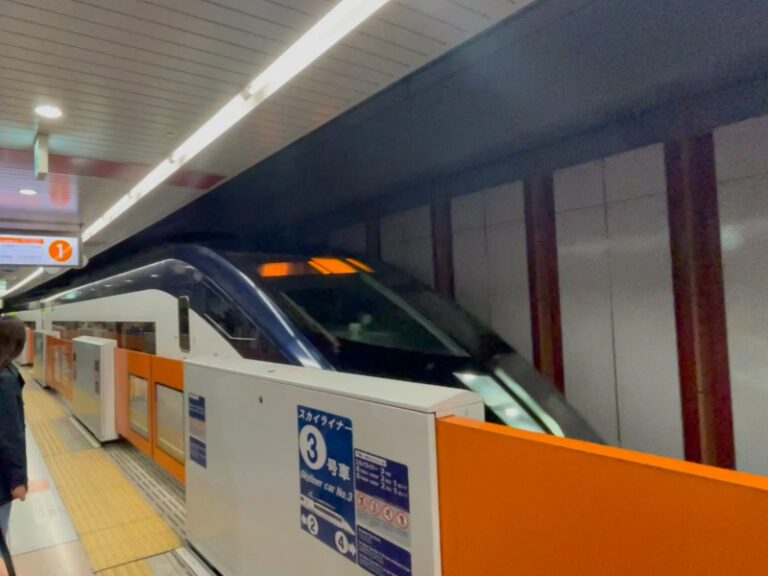
4. Boarding the Train
The Skyliner has reserved seating, so check your ticket for your car and seat number. There’s ample space for luggage near the doors, so there’s no luggage blocking the aisles.
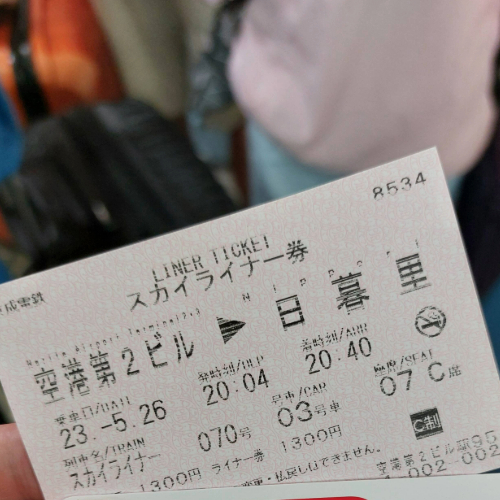
5. Arriving at Your Destination
The Skyliner stops at Nippori Station and ends at Ueno. Both stations are major hubs with excellent connections to the JR Yamanote Line and Tokyo Metro. If you’re staying in central areas like Shinjuku, Shibuya, or Ginza, transferring here is straightforward and easy. All you need to do is follow the signs.
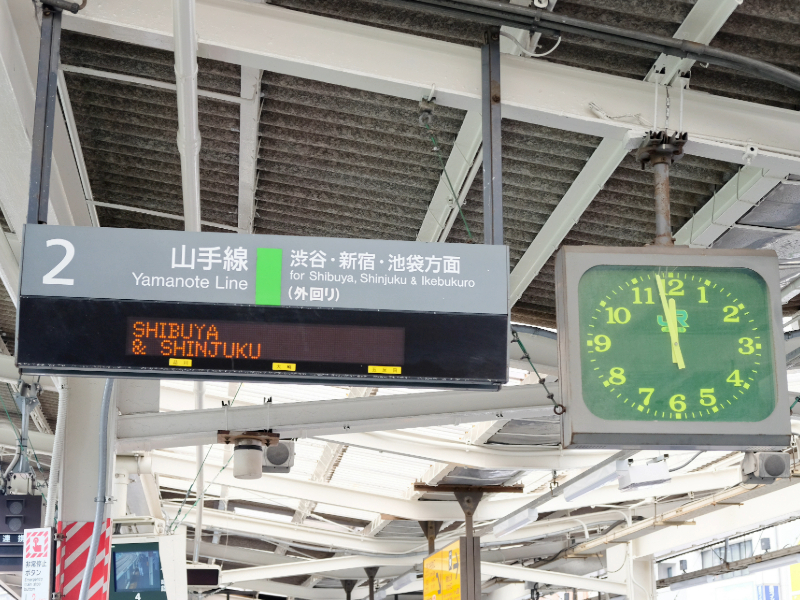
Getting Around in Tokyo
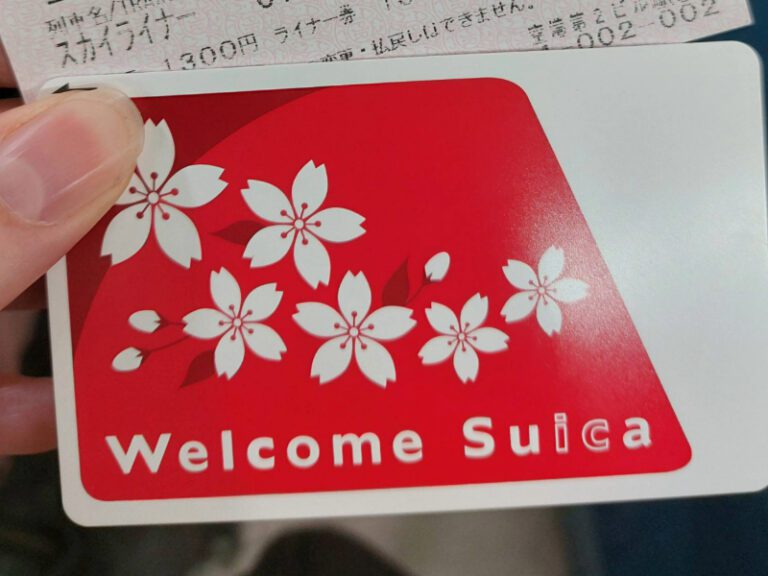
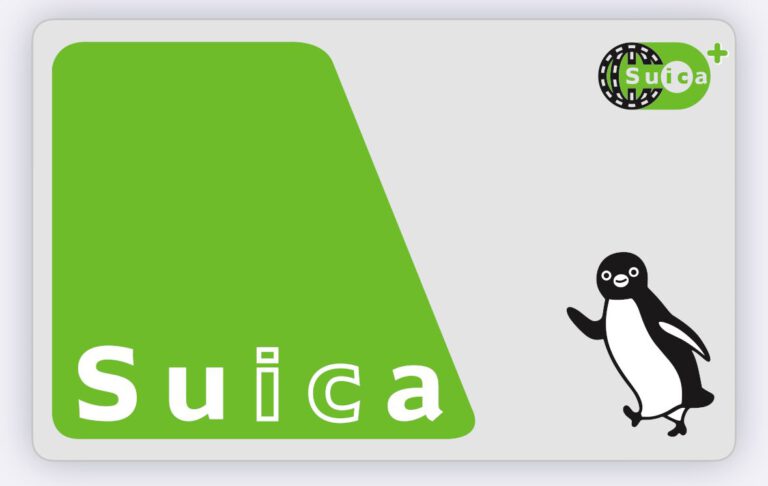
We recommend getting a Suica or Pasmo card for quick and easy travel payment on public transportation such as the JR lines and the Tokyo Metro. These so-called IC cards save you the trouble from buying a ticket every time you need to go somewhere and are also handy for small purchases at convenience stores.
There’s currently a shortage of theses passes so if you have an iPhone download the Suica Card directly into your wallet and avoid the hassle of obtaining the card. This way you can also digitally load your card, making it even easier to use.
An alternative is purchasing the ‘Welcome Suica’ card. This temporary card is valid for 30-days and has all the same functionalities as the regular Suica card. Except for that they expire and that there’s no shortage of these.
Where We Stayed in Tokyo
During our stay in Tokyo, we stayed at the Nohga Hotel Akihabara, which is just a few train stops away from Ueno Station and easily reachable by public transport.
The hotel was a great base for exploring Tokyo. It’s a boutique style hotel and the rooms are large for Tokyo standards. The rooms are well designed with a mix of modern style and classic Japanese aesthetics.
Location wise, it’s only a 10 minute walk from Akihabara JR station and a 7 minute walk to the nearest Ginza metro line stop. There are also many restaurants and other food options right next to the hotel.
For a stay here you can expect to pay around ¥25000 per night (€ 150 / US$ 160), excluding breakfast.
If you want to have a look at the hotel check-out our full video review below:
So that’s it! All you need to know about getting into Central Tokyo from Narita Airport. If you’re looking to travel beyond Tokyo by train, make sure to check-out our guide about getting train tickets for the Shinkansen. Not sure where to go yet within Japan? We wrote down the perfect 14 day travel itinerary for Japan, for your convenience!
Thanks so much for reading and if you want to watch our videos about Japan, be sure to check-out our Youtube Channel!

Laura is the co-founder of Yes and Explore and a travel professional with over 10 years of experience in the tourism industry. She loves sharing her insider knowledge and practical tips to help you make the most of every trip.

